Free workflow download
Free for members. Create a free account or log in to download.
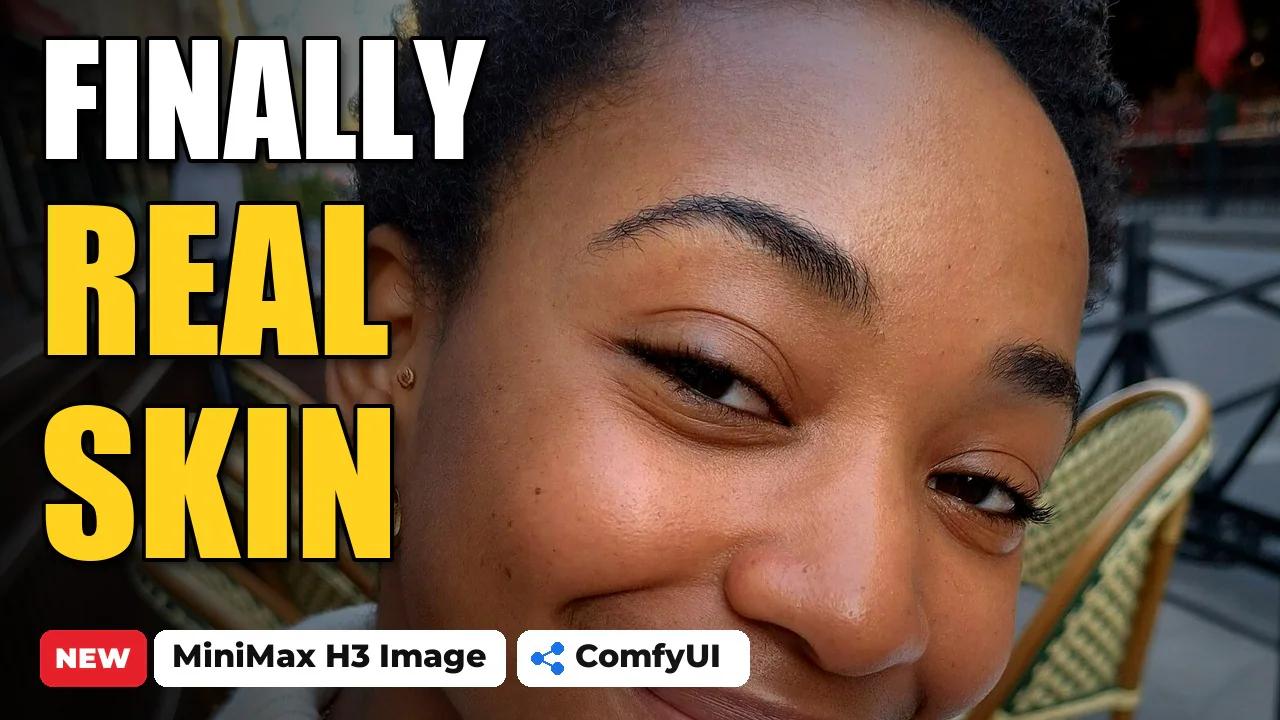
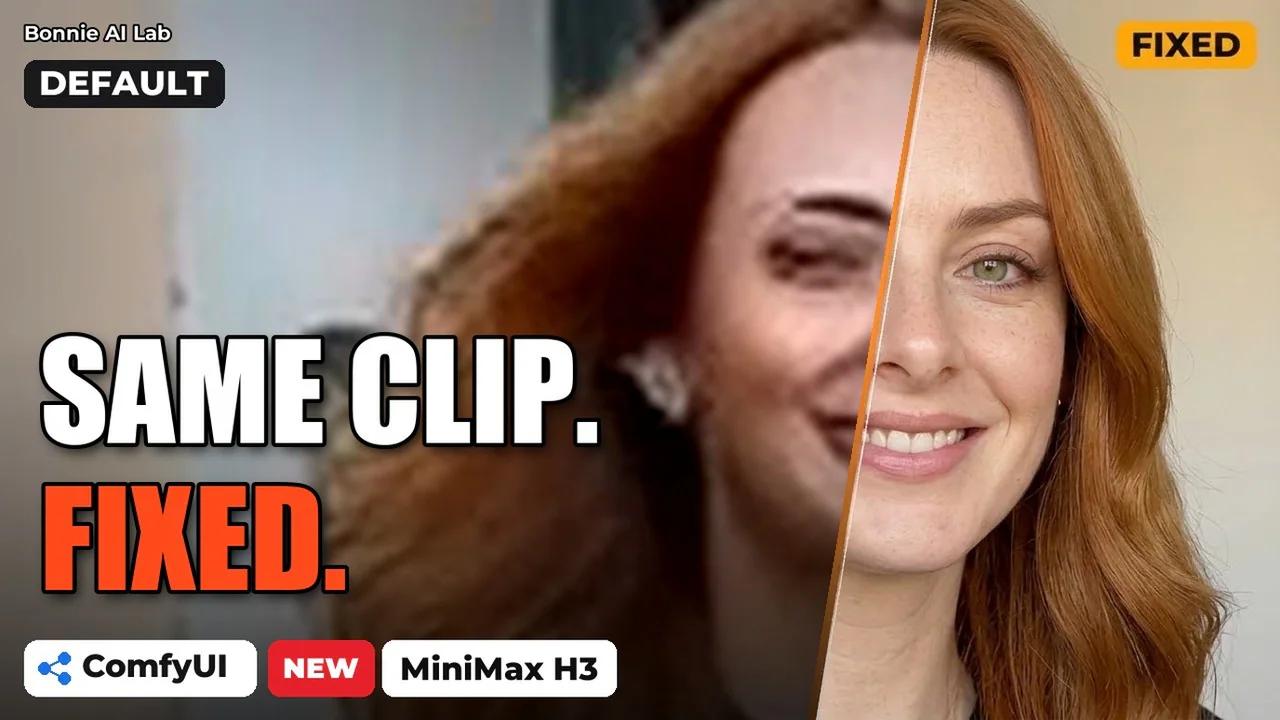
If you make videos with MiniMax H3, you've seen this face: the moment a person is far from the camera, the eyes melt and the mouth turns into a smudge. Reddit is full of it.
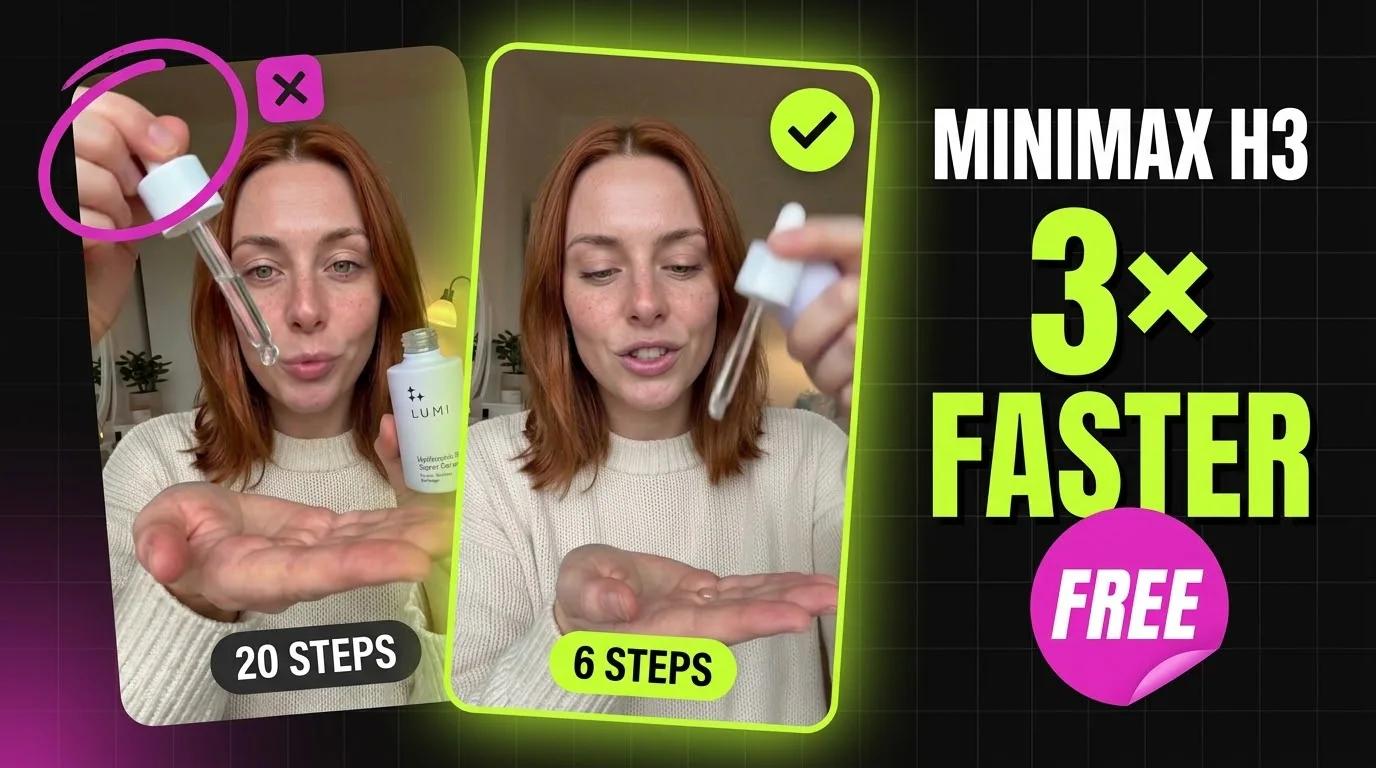
This free ComfyUI workflow fixes the clips you already made. You don't render anything again: it finds the face, redraws it big from your character's photo and pastes it back into the same clip, with the original sound. Our new node, H3 Face Size Fade, makes sure the close-ups that were already good stay exactly as H3 made them.
Below you'll see four before-and-after clips, how it works, every node pack and model with its link, and the settings. The free workflow is in the download section, and the node is on GitHub.
Why MiniMax H3 melts small faces
It's not your resolution. You can render at 1080p and still get it. What matters is how big the head is in the frame. A face that is only 60 pixels tall gets a handful of tokens, and that's not enough for H3 to draw real eyes and a mouth.
So the trick is simple: if the face is too small, make it big, redraw it, and put it back.
How the face fix workflow works
It's all in coloured groups, left to right, and you don't touch a single frame by hand.
| Group | What happens |
|---|---|
| 1. Inputs | Your finished H3 clip (with its audio) and a clear photo or character sheet of the face |
| 3. Find the face | Follows the face through every frame and cuts a big square around it |
| Fade on close faces | Our node: decides how much of the fix each frame gets, from the size of the face |
| 4. Face mask | SAM 3.1 masks only the face, so the background stays as it was |
| 5 + 6. Prepare, re-render | H3 redraws the face at 768 px from your photo. No prompt needed |
| 7. Polish + paste back | VOSR2 cleans it up, then only the face is stitched back into your clip |
4 before-and-after examples
Each one is a single run of the workflow on a finished H3 clip. Turn the sound on: the audio is the original.
Case 1: try-on walk in a boutique
She walks in from the back of the shop, and her face starts at only 47 pixels with melted eyes. After the fix she has real eyes and a real mouth, and when she walks up close the fade leaves her face exactly as H3 made it.
Left: the clip as H3 made it. Right: the same clip after one run.
Case 2: street walk from across the road
Filmed from across the road, so her face is only 30 to 85 pixels tall and H3 turned her eyes into a smudge. Load the clip, load her photo, press Run: clean eyes, a real smile, and still the same person.
Left: the clip as H3 made it. Right: the same clip after one run.
Case 3: push-in on a farmer
This one shows why the fade matters. The face is fixed while he is far away, and the close-up at the end stays untouched, with no extra wrinkles.
Left: the clip as H3 made it. Right: the same clip after one run.
Case 4: tracking shot at speed
Fast shots are where cheap fixes wobble, because the face keeps moving. The tracking follows him smoothly, so the new face stays locked on.
Left: the clip as H3 made it. Right: the same clip after one run.
H3 Face Size Fade: keep the good close-ups
The popular face refine workflow fixes every face in the shot, including the big ones. When we ran it on the farmer clip, the far face was fixed, but the close-up at the end came out with deeper wrinkles. He looked about ten years older. The fix broke the part that was already perfect.
So we made a small free node, H3 Face Size Fade (PixelAI Labs). It measures the face on every frame and sits between H3 Face Track Crop and H3 Face Stitch:
- Faces 110 pixels tall or smaller get the full fix.
- Faces 180 pixels and up stay exactly as H3 made them.
- In between, the fix fades out smoothly.
Those sizes are for 1080p video and scale with your video's height.
| Setting | Default | What it means |
|---|---|---|
full_fix_below_px | 110 | Face height that gets the full fix |
no_fix_above_px | 180 | Face height from which the original face is kept |
crop_factor | 2.5 | Same value as on H3 Face Track Crop |
reference_height | 1080 | The pixel values above are for this video height. 0 uses them as they are |
What you need
- ComfyUI 0.45.0 or newer. MiniMax H3 and SAM 3.1 are built in from that version.
- Our node: in the ComfyUI Manager, open Custom Nodes Manager, choose Install via Git URL and paste
https://github.com/Pixelailabs/ComfyUI-H3-FaceFix-PixelAILabs, then restart. It needs no extra Python packages. - These node packs, all in the Manager (search for the name):
| Pack | What the workflow uses it for |
|---|---|
| ComfyUI-H3-FaceRefine by Carasibana | Face tracking, crop and paste back |
| MaskVidExperiments by drozbay | Cleans the face mask |
| ComfyUI-VOSR2 by ylchen333 | Final polish. Downloads its model (about 7 GB) on the first run |
| ComfyUI-KJNodes | Sage attention patch for H3 |
| ComfyUI-VideoHelperSuite | Loads and saves the video with its audio |
| ComfyUI-Impact-Subpack | Registers the ultralytics folder for the face detector |
The models, each in its folder inside ComfyUI/models/:
| Model | Folder | Size |
|---|---|---|
| Minimax-h3_Singularity_ref2va_v2_int8 | diffusion_models | 34 GB |
| pika_h3_flex_turbo_8step_hd_ref2va | loras | 3.9 GB |
| qwen3vl_32b_minimax_h3_int8_convrot (RTX 50 cards: the nvfp4_awq one, 15.7 GB) | text_encoders | 27 GB |
| minimax_h3_video_vae_int8_convrot | vae | 2.8 GB |
| minimax_h3_audio_vae_fp32 | vae | 0.6 GB |
| sam3.1_multiplex_fp16 | checkpoints | 1.75 GB |
| face_yolov8n.pt | ultralytics/segm | 6 MB |
| VOSR2 (downloads by itself) | VOSR2 | about 7 GB |
Already making H3 videos? Then you have most of these. See our Pika H3 Flex guide for the H3 setup.
How to fix your clip
- In 1. Inputs, load your finished H3 clip and a clear photo or character sheet of the face.
- Which face? Leave it on
largest_face, or picksmallest_facewhen the small face in the back is the broken one. With several people, set Face number to 0, 1, 2 and so on. - Press Run.
- The fixed clip, with the original sound, is saved in
ComfyUI/output/asH3_FaceFix_*.mp4.
It takes about 4 minutes per 10 seconds of 1080p video on an RTX 5090. The first run is slower while VOSR2 downloads its model.
The workflow ships with these settings:
Sampler: euler, scheduler beta, 8 steps, denoise 0.5
Turbo LoRA: Pika Flex Turbo 8-step, strength 1.0
Face crop: 768 x 768, crop_factor 2.5
Stitch: face_only, dilation 24, feather 24, colour match 1
Prompt: none (the face photo does the work)
Tips
- One face per run. More people? Run it once per person with Face number 0, 1, 2, and feed each result into the next run. For
smallest_faceor a face number above 0, turnidentity_trackoff on the Track Crop node. - Use your character's photo or sheet as the face picture, so the fixed face is the same person.
- Scan your old clips. In one 121-clip episode, 57 clips had a face small enough to need this.
- Keep the fade on. Fixing big faces adds wrinkles and age.
Make your own AI influencer
Want one consistent AI influencer with her own LoRA, KREA 2 photos and MiniMax H3 talking videos? That's what my AI Influencer Pro course covers, step by step, on your own GPU or the course cloud.
Downloads
The workflow is free in the Free workflow downloads box at the top of this page (on a phone, just under the cover picture). Create a free account or log in, click the file, then drag the JSON onto the ComfyUI canvas. The H3 Face Size Fade node is on GitHub: ComfyUI-H3-FaceFix-PixelAILabs.
Credits
- ComfyUI-H3-FaceRefine by Carasibana: the face track, crop and stitch nodes
- MaskVidExperiments by drozbay and ComfyUI-VOSR2 by ylchen333
- Pika H3 Flex Turbo LoRA by Pika Labs, MiniMax H3 by MiniMax
- The idea of adding the SAM mask and VOSR2: sunbaolong_2001 on X